As every Canadian knows, Mother Nature can have quite the temperament and change with the flip of a switch. One moment I’m playing in the sprinklers with my little ones, and the next moment the sky provides its very own sprinkling. It’s hard to play outside when the weather switches from sunshine to rain or hail in a matter of minutes.
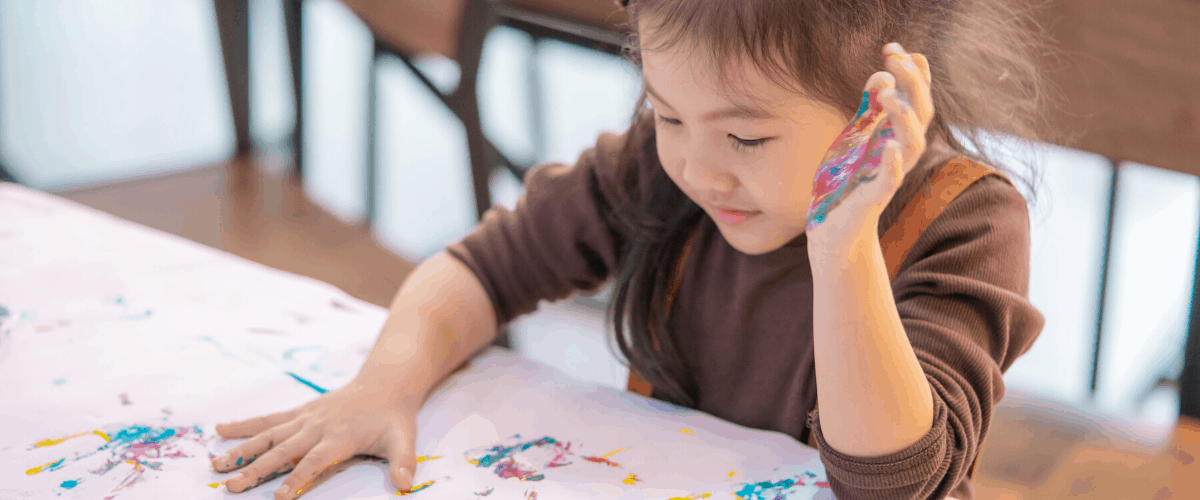
With that in mind, I collected some fun and educational art and sensory activities that can be done indoors and have been a big hit with the kiddos at our classes at Seasons Family Centre in Toronto.
Almost all of the materials for these projects were purchased from the dollar store, which is easy on the budget.
1. Paper Plate Art

Boat Pictures
Materials:
- cardboard
- construction paper
- glue
- cotton balls
- blue tissue paper
- paper plates
Paper Plate Zebras
Materials:
- paper plates (cut in half)
- black construction paper
- glue
- pompoms
- cotton balls
2. Seasons Chart

This was an easy and fun craft. My little ones are learning about weather and the seasons, and this craft fit perfectly.
We traced the children’s hands and then helped them to cut them out. I recommend a pair of scissors that has two sets of finger holes so you and your little one can cut simultaneously. It’s the perfect way to introduce cutting to your wee ones.
Materials:
- construction paper
- tissue paper
- glue
- cotton balls
3. Rainbow Foam
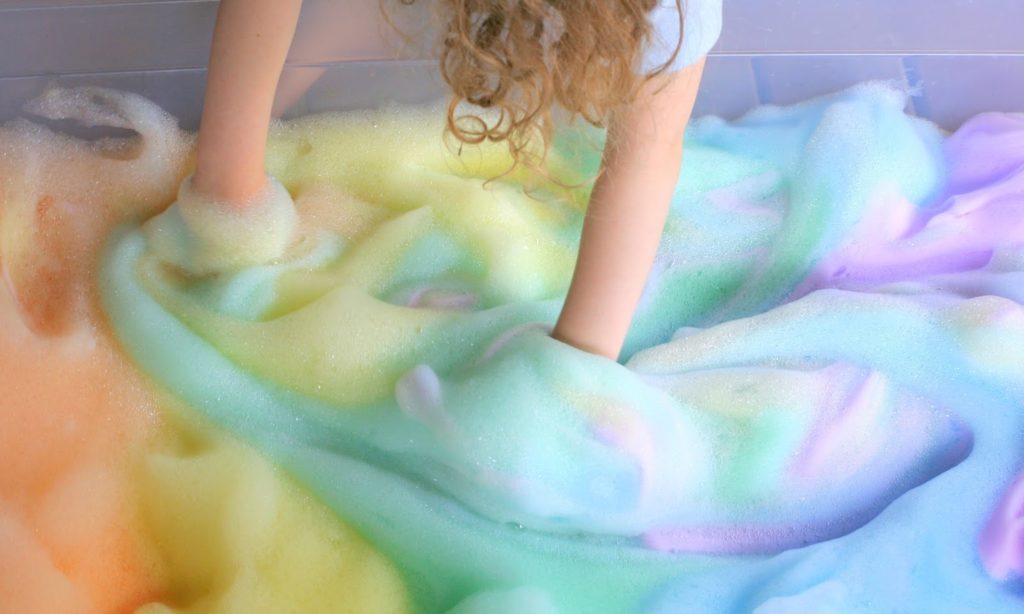
These fun, pretty bubbles take only 10 minutes to make, and if you use only primary colours you can teach your little one how to make new colours.
We used the recipe from Fun at Home with Kids.
4. Coloured Pasta

So easy to make! Simply put some uncooked pasta in a zip lock bag, add either icing gel or food colouring, and shake, shake, shake!
5. Volcano

This activity can be a little bit messy and requires quite a few materials, but it kept our toddlers busy for almost an hour, which is pretty amazing!
We took a plastic container and covered it with modelling clay, then the kids helped by sticking rocks onto it. Next, we made our volcano explode over and over and over and over again (you get the point). We threw some plastic plants, sand, and rocks into the mix to make it even more interesting.
Note: The size of the explosion will depend on the ratio of baking soda to vinegar you use. It’s really a matter of trial and error!
Materials:
- yogurt container
- modelling clay
- fake plants
- mini toy dinosaurs
- sand
- rocks
- baking soda
- vinegar
Images by Nikki Goldman-Stroh
Rainbow foam image by Fun At Home with Kids